|
This part of the site will show you the prosses of creating the widget that I 3D-printed. Inventor is a editing software were you can make all sorts of tings like parts and in this case widgets.
|
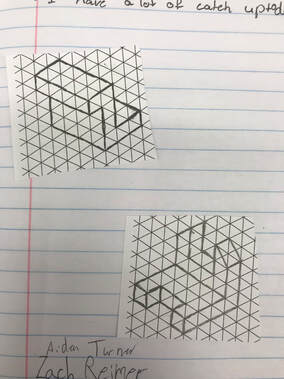
These are the widgets that I got to design
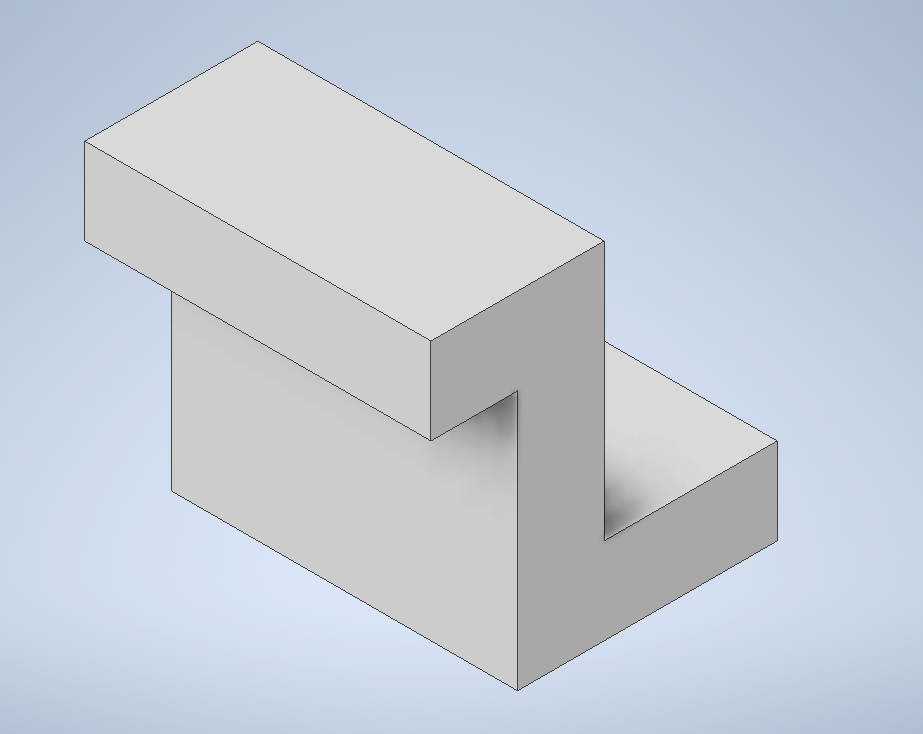
Widget 1
|
|
|
|
|
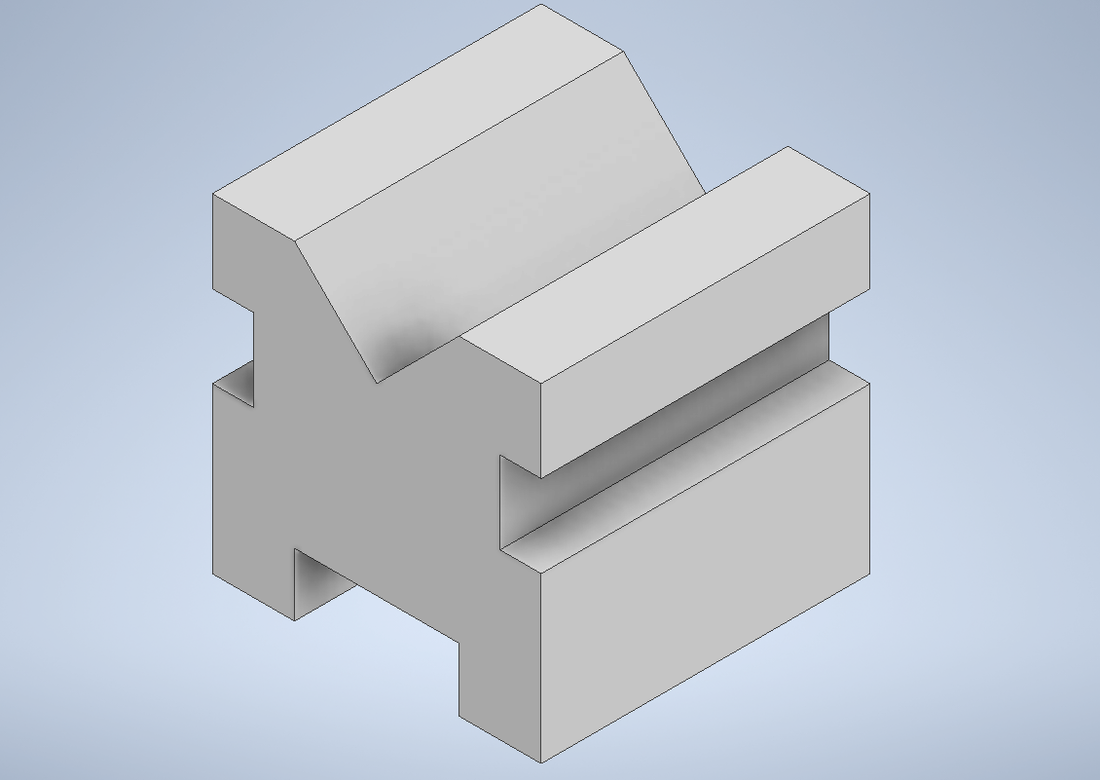
Widget 3 Widget 4
|
|
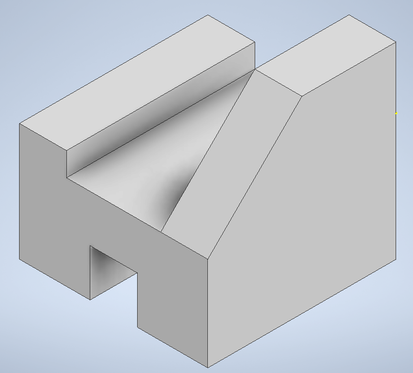
Widget 5 Widget 6
The step by step process
This is the step my step prosses of how I designed my widget and 3d printed it.
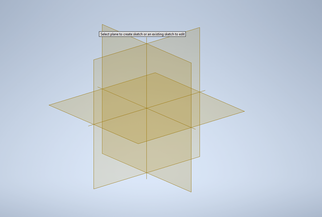
Step One - Create a sketch and a plane will pop up.
|
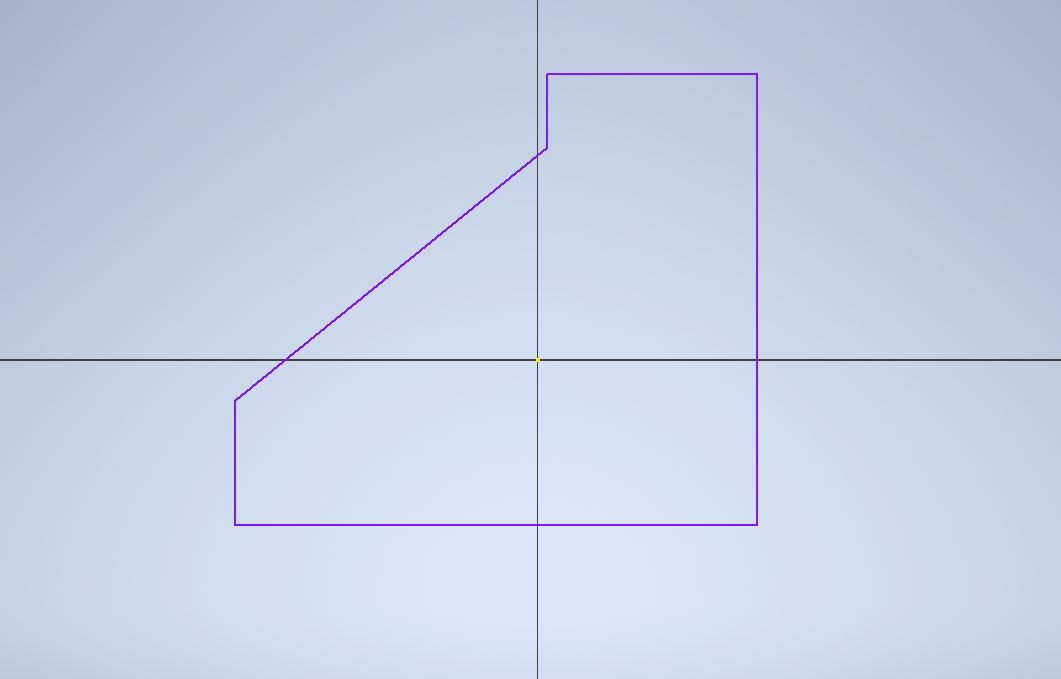
Step Two - make this general shape while making sure you are using 90 degree angles.
|
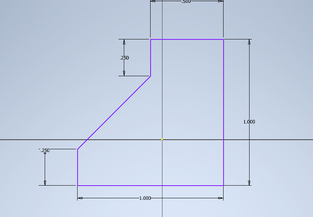
Step Three - Put in the dimensions.
|
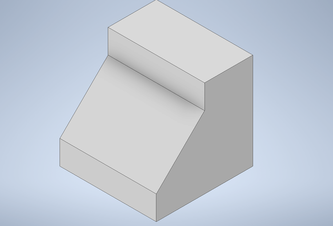
Step Four - extrude the shape that you made.
|
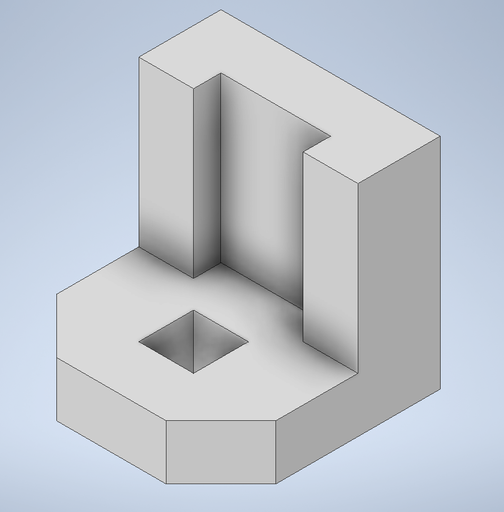
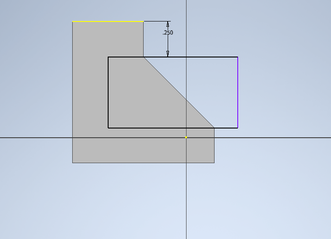
Step Five - Make a rectangle, put in the right dimensions and intrude in 3/8 of an inch.
|
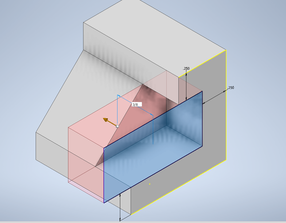
Step Six - Do the same thing on the other side of the shape and extrude.
|
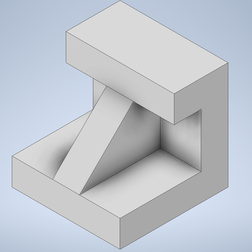
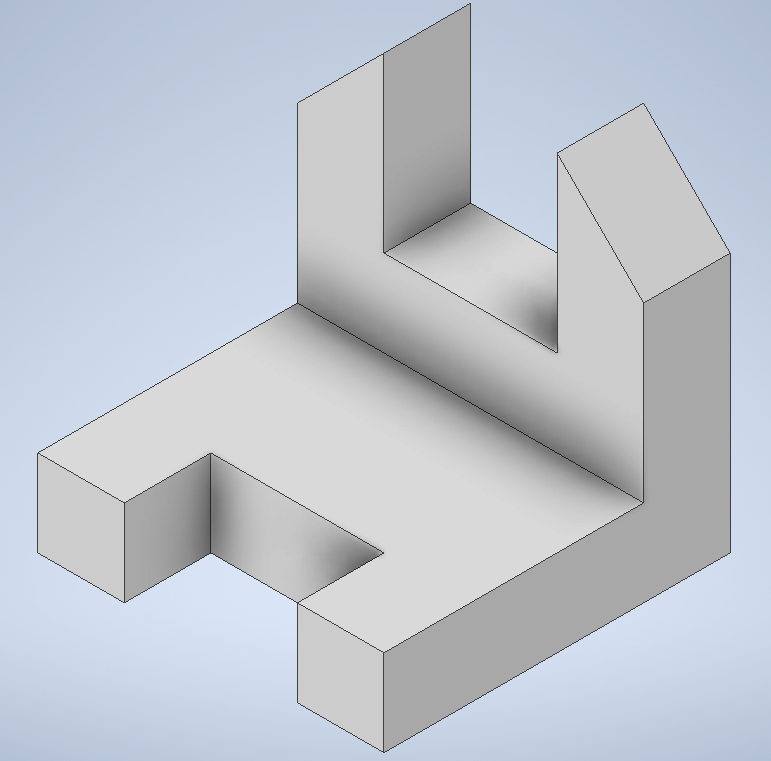
Step Seven - look in awe at the anazing ting that you have just made.
|
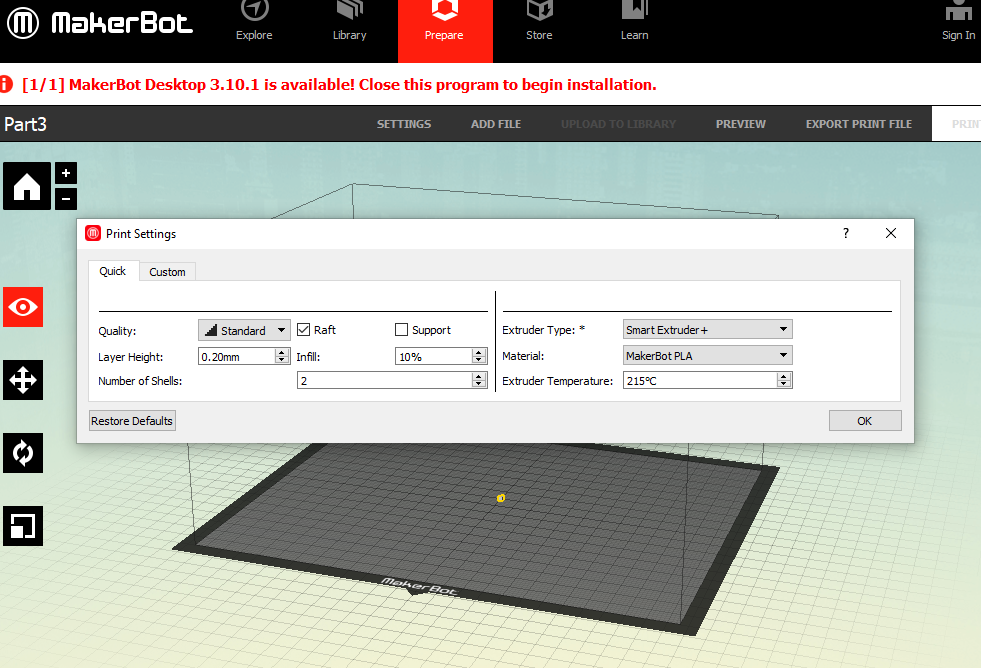
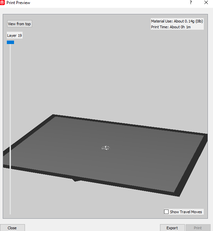
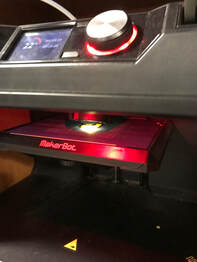
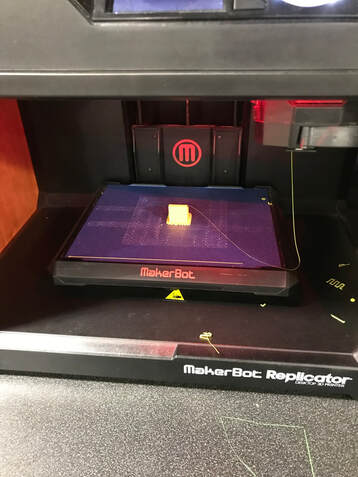
MakerBot
|
|
|
I learned a lot of things during this unit. I learned how to 3D print, and it was my first time ever doing that. It was also my first time using inventor. I think that these are good skills to have for when I'm older because of how the world is changing.
